
Cabbage Recipes Indian Style


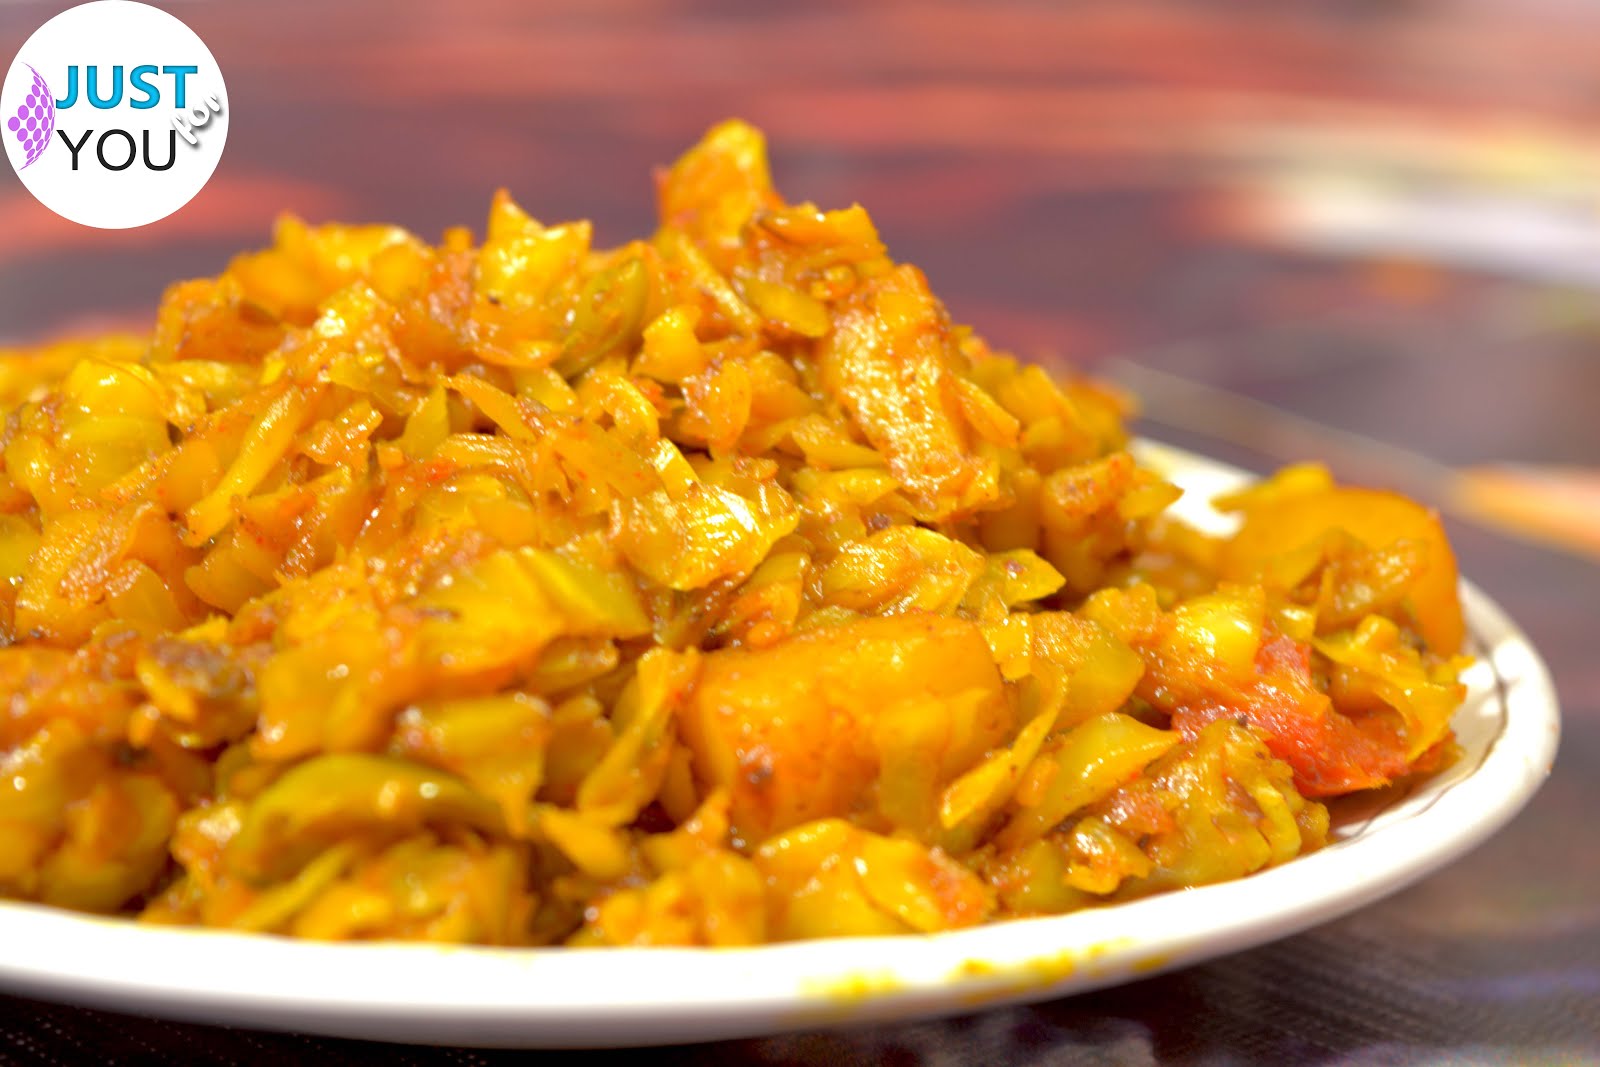
Cabbage Pakora Recipe Ingredients:-

. 1 Chopped Cabbage

. 2 Chopped Potatoes

. Chopped Tomatos

. Chopped Ginger 1 Tea Spoon

. 5 Slice Green Chilli

. Red Chilli Powder 1/3 Tea Spoon

. Sugar 1/3 Tea Spoon

. Garam Masala 1/2 Tea Spoon

. Red Chili Powder 1/2 tbsp

. Turmeric 1/2 Tea Spoon

. Salt 1/2 Tea Spoon

. Mustard Oil 1 Cups

. Cumin Seeds


 The Recipe Of Making Cabbage Pakora Recipe:-

1) Hit the oil in a vessel.

2) add chopped Potatoes. Add Turmeric powder and Salt and fry it very well. Keep the flame medium.

3) When potatoes will brown in color then keep it in a plate.

4) Now add 1 red chili and some Cumin in hot oil and little fry it in medium flame.

5) Add chopped Cabbage and mix it. Add rest of turmeric powder, rest of salt and mix it little bit.

6) Now add green slice chili, ginger,and mix it some time.

7) Add red chili powder, garam masala and chopped tomatos and mix it very well.

8) When the cabbage have been mixed very well add fried potatoes and fry until cabbage cook.

9) You can add sugar for make it more  testy.

9) You are almost Done at this point . Now keep cooking till all of the cabbage water is dried out and thepotatoes are cooked.

10) Serve warm with roti or steamed rice.


Comments

Popular posts from this blog

Obstacle Avoiding Robot Car Using Arduino - How To Make a Smart Car

How To Make Smart Robot Car With Arduino Obstacle avoiding robot car using Arduino, how to make a smart car with ultrasonic sensor, servo motor, and L298N motor driver module. Arduino UNO :- https://amzn.to/3MF9jky SG90 Servo Motor And HC-SR04 Ultrasonic Sensor :- https://amzn.to/3EX03pu LM298N motor driver module :- https://amzn.to/3y2tx3Y BO Motor with Wheel Pair :- https://amzn.to/38zFMu6 arduino smart car kit :- https://amzn.to/3kmtZlk Project Code :-  #include <Servo.h>          //Servo motor library. This is standard library #include <NewPing.h>        //Ultrasonic sensor function library. You must install this library //our L298N control pins const int LeftMotorForward = 7; const int LeftMotorBackward = 6; const int RightMotorForward = 4; const int RightMotorBackward = 5; //sensor pins #define trig_pin A1 //analog input 1 #define echo_pin A2 //analog input 2 #define maximum_distance 200 boolean goesForward = false; int distance = 100; NewPing sonar(trig_pin

Bluetooth Robot Car Using Arduino Project Step By Step

Bluetooth Controlled Robot Car Using Arduino Bluetooth Controlled Robot Car Using Arduino Project using LM298n motor deriver and hc-05 bluetooth module step by step tutorial. Code Download :- Click Here Arduino bluetooth controller app Arduino bluetooth controller App

How To Make Simple Digital Clock Using Arduino UNO Very Easy Step By Step

Digital clock using Arduino UNO , TM1637 4-digit 7 segment display and DS1307 RTC module. Here I show you how to make a simple digital clock using Arduino UNO very easily.  TM1637 4-digit 7 segment display :-  https://amzn.to/3R3KC3p DS1307 RTC module:-    https://amzn.to/3dPDfyc    Arduino UNO:- https://amzn.to/3KcNfxR Jumper Wire:-    https://amzn.to/3KcBIyH             Project Code :-  const int clock = 11; const int data = 10; uint8_t digits[] = { 0x3f, 0x06, 0x5b, 0x4f, 0x66, 0x6d, 0x7d, 0x07, 0x7f, 0x6f }; void setup() { setupInterrupt(); pinMode(clock, OUTPUT); pinMode(data, OUTPUT); start(); writeValue(0x8c); stop(); write(0x00, 0x00, 0x00, 0x00); } byte tcnt2; // set current time by editing the values at line 16 and 17 unsigned long int setMinutes = 9; // set minutes unsigned long int setHours = 9; // set hours unsigned long time = (setMinutes * 60 * 1000) + (setHours * 3600 *1000); void setupInterrupt() { TIMSK2 &= ~(1<<TOIE2); TCCR2A &=