
Jorda Semai Recipe | Sweet Dry Semai/Vermicelli Recipe Bangladeshi Style


INGREDIENTS:

1) 200 gram Semai
2) 1 cup Sugar
3) 4 tbsp Ghee
4) 2 tbsp Cinnamon Powder or Darchini Powder
5) 1 cup Plain Water


MAKING PROCESS:-


1) At first, fry the semai on a dry pan.


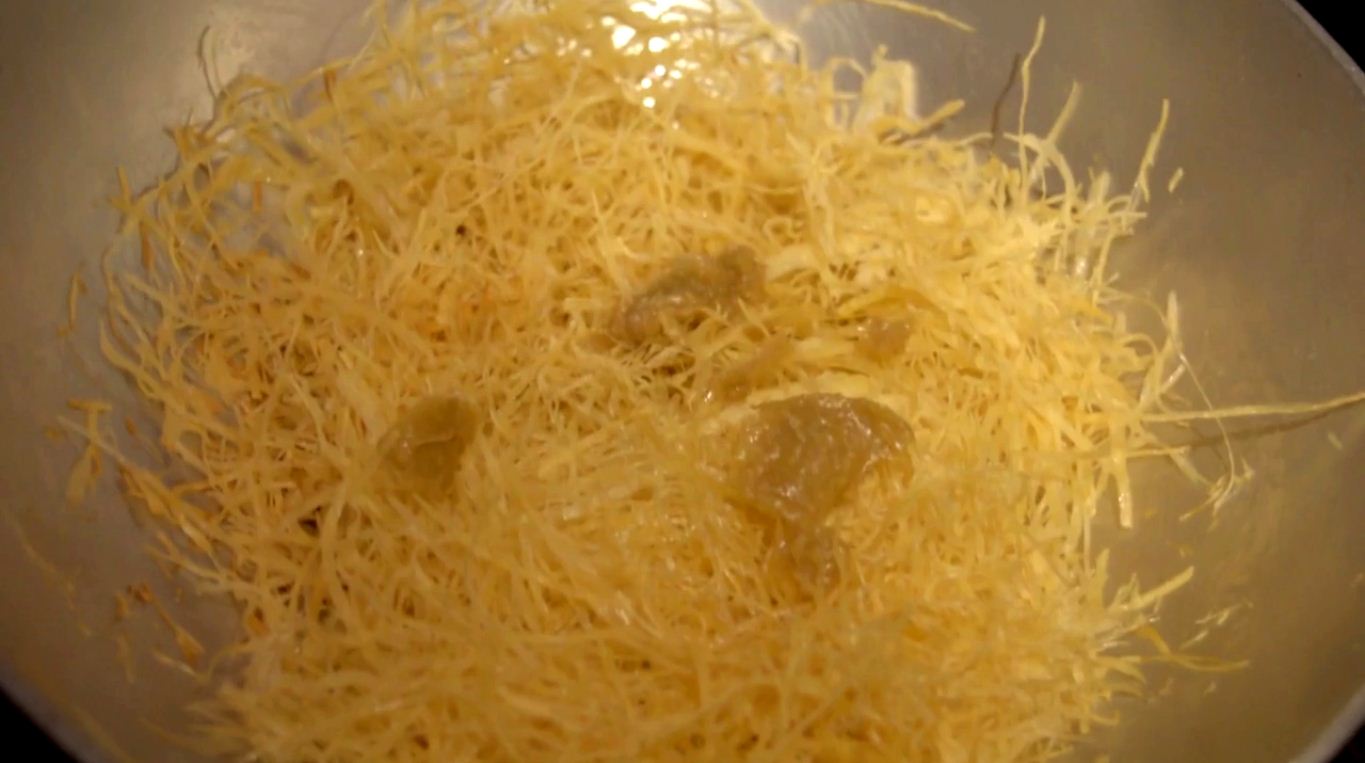
2) After that, take 4 tbsp Ghee and add it with semai and mix it smoothly.


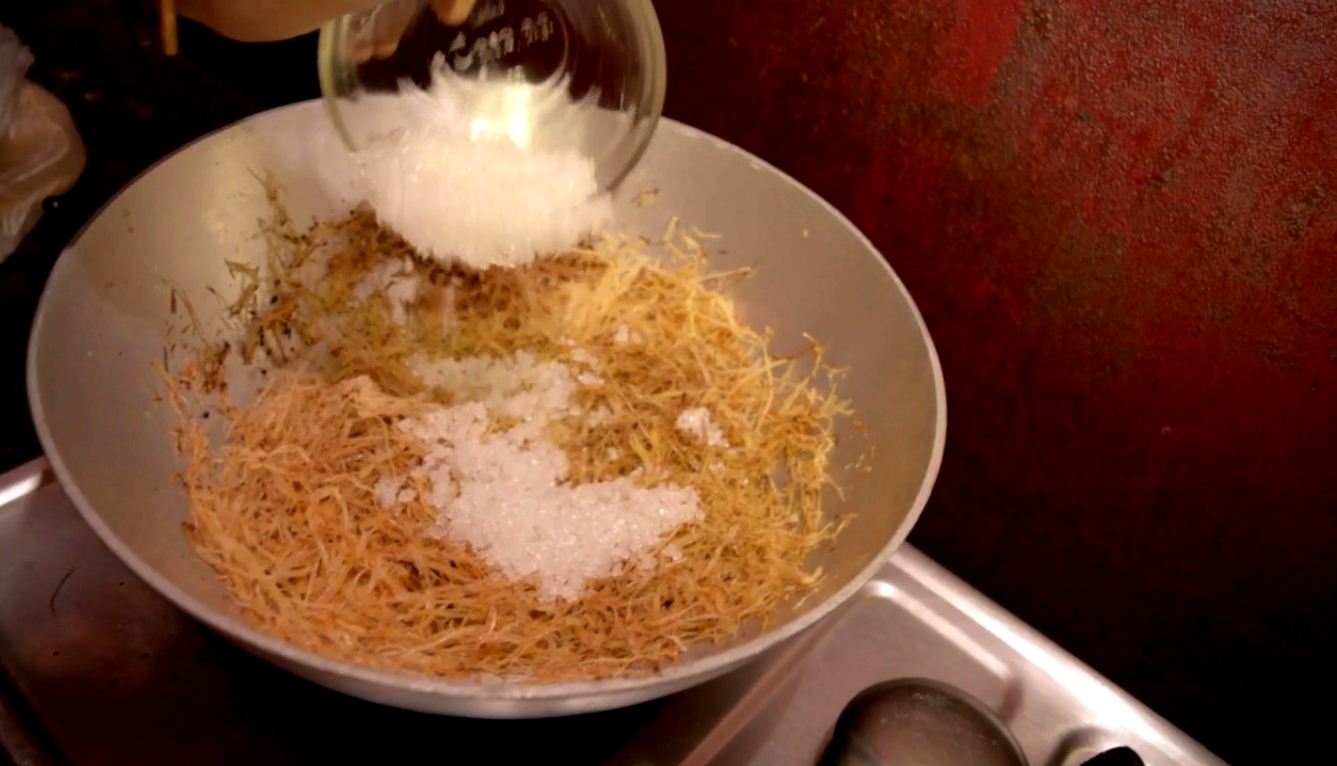
3) Then, add 2 tbsp Cinnamon Powder or Darchini Powder and 1 cup Sugar.


4) Then heat the pan in low flame and mix all together very well. 


5) Then, add 1 cup plain water and mix it  until it will dry and get a brownish color.


6) Now it’s ready.


7) Put  it in a plate in normal place or under the fan for 1 hour.


8) After I hour your semai is ready now stir it with a spoon and serve it.


Jorda Semai

Jorda Semai

Comments

Popular posts from this blog

Obstacle Avoiding Robot Car Using Arduino - How To Make a Smart Car

How To Make Smart Robot Car With Arduino Obstacle avoiding robot car using Arduino, how to make a smart car with ultrasonic sensor, servo motor, and L298N motor driver module. Arduino UNO :- https://amzn.to/3MF9jky SG90 Servo Motor And HC-SR04 Ultrasonic Sensor :- https://amzn.to/3EX03pu LM298N motor driver module :- https://amzn.to/3y2tx3Y BO Motor with Wheel Pair :- https://amzn.to/38zFMu6 arduino smart car kit :- https://amzn.to/3kmtZlk Project Code :-  #include <Servo.h>          //Servo motor library. This is standard library #include <NewPing.h>        //Ultrasonic sensor function library. You must install this library //our L298N control pins const int LeftMotorForward = 7; const int LeftMotorBackward = 6; const int RightMotorForward = 4; const int RightMotorBackward = 5; //sensor pins #define trig_pin A1 //analog input 1 #define echo_pin A2 //analog input 2 #define maximum_distance 200 boolean goesForward = false; int distance = 100; NewPing sonar(trig_pin

Bluetooth Robot Car Using Arduino Project Step By Step

Bluetooth Controlled Robot Car Using Arduino Bluetooth Controlled Robot Car Using Arduino Project using LM298n motor deriver and hc-05 bluetooth module step by step tutorial. Code Download :- Click Here Arduino bluetooth controller app Arduino bluetooth controller App

How To Make Simple Digital Clock Using Arduino UNO Very Easy Step By Step

Digital clock using Arduino UNO , TM1637 4-digit 7 segment display and DS1307 RTC module. Here I show you how to make a simple digital clock using Arduino UNO very easily.  TM1637 4-digit 7 segment display :-  https://amzn.to/3R3KC3p DS1307 RTC module:-    https://amzn.to/3dPDfyc    Arduino UNO:- https://amzn.to/3KcNfxR Jumper Wire:-    https://amzn.to/3KcBIyH             Project Code :-  const int clock = 11; const int data = 10; uint8_t digits[] = { 0x3f, 0x06, 0x5b, 0x4f, 0x66, 0x6d, 0x7d, 0x07, 0x7f, 0x6f }; void setup() { setupInterrupt(); pinMode(clock, OUTPUT); pinMode(data, OUTPUT); start(); writeValue(0x8c); stop(); write(0x00, 0x00, 0x00, 0x00); } byte tcnt2; // set current time by editing the values at line 16 and 17 unsigned long int setMinutes = 9; // set minutes unsigned long int setHours = 9; // set hours unsigned long time = (setMinutes * 60 * 1000) + (setHours * 3600 *1000); void setupInterrupt() { TIMSK2 &= ~(1<<TOIE2); TCCR2A &=